Showing posts with label snacks. Show all posts

Monday, July 19, 2010

S'mores Part II: The Marshmallows

You can't have a s'more without marshmallows. And since I've got a craving for s'mores, it's time for homemade marshmallows!

I started my recipe search by looking at my three favorite food websites: The Pioneer Woman Cooks (including her Tasty Kitchen site), Allrecipes.com, and foodnetwork.com. I found recipes on all three, but decided on Alton Brown's recipe from the Food Network Site, partially because I am in awe of Alton Brown, but mostly because the recipe had amazing reviews.

Ingredients:
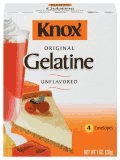
  • 3 packages unflavored gelatin (NOT JELLO!). The only brand that I've ever seen is Knox.
  • 1 cup ice cold water
  • 1 1/2 cups granulated sugar
  • 1 cup light corn syrup (the next time I make this, I'm going to look for a substitution for this)
  • 1/4 teaspoon kosher salt
  • 1 teaspoon vanilla extract (I always use the real thing - homemade, of course!)
  • 1/4 cup confectioners' sugar
  • 1/4 cup cornstarch
  • Nonstick spray
Process:

Place the gelatin into the bowl of a stand mixer along with 1/2 cup of the water. Have the whisk attachment standing by.

In a small saucepan combine the remaining 1/2 cup water, granulated sugar, corn syrup and salt. Place over medium high heat, cover and allow to cook for 3 to 4 minutes.

At this point, you are going to want to cook it until the mixture reaches 240 degrees F. You can use a regular candy thermometer, but I used this electronic thermometer that allows you to set a temperature target, and it will beep when it gets to that temperature.

Here you can see that my sugar was 97 degrees, and the target temperature was 240.

...getting closer. This will take approximately 7 to 8 minutes. Once the mixture reaches this temperature, immediately remove from the heat.

Turn the mixer on low speed and, while running, slowly pour the sugar syrup down the side of the bowl into the gelatin mixture. Once you have added all of the syrup, increase the speed to high.

Continue to whip until the mixture becomes very thick and is lukewarm, approximately 12 to 15 minutes. Add the vanilla during the last minute of whipping. While the mixture is whipping prepare the pans.

Combine the confectioners' sugar and cornstarch in a small bowl. Lightly spray a 13 by 9-inch metal baking pan with nonstick cooking spray. Add the sugar and cornstarch mixture and move around to completely coat the bottom and sides of the pan. Return the remaining mixture to the bowl for later use.

When the marshmallow mixture is ready, pour into the prepared pan, using a lightly oiled spatula for spreading evenly into the pan.

Dust the top with enough of the remaining sugar and cornstarch mixture to lightly cover. Reserve the rest for later. Allow the marshmallows to sit uncovered for at least 4 hours and up to overnight. I went for overnight, and they set up perfectly.

Turn the marshmallows out onto a cutting board and cut into 1-inch squares using a pizza wheel dusted with the confectioners' sugar mixture.

Once cut, lightly dust all sides of each marshmallow with the remaining mixture, using additional if necessary. Store in an airtight container for up to 3 weeks (as if they'll last that long!)

Next up: finishing the s'mores!


Tuesday, July 13, 2010

S'mores Part I: The Graham Cracker

This actually started from a desire to feed my son good snack food. The fact that it has become the base for the best s'mores ever is a bonus. More on the s'mores later, I promise.

After my (sort of) success making cheese crackers, I thought I'd try a sweeter cracker. He loves graham crackers, but like most processed food, it has HFCS in it, along with all sorts of other undesirable ingredients.

I remembered that I had seen a show on the food network a while ago on how to make graham crackers, so I did a little search and found Alton Brown's recipe for graham crackers. The recipe calls for graham flour. A simple internet search revealed that graham flour is just whole wheat flour. The flour that I found was just labeled as whole wheat, but on the back was printed the story of graham flour.


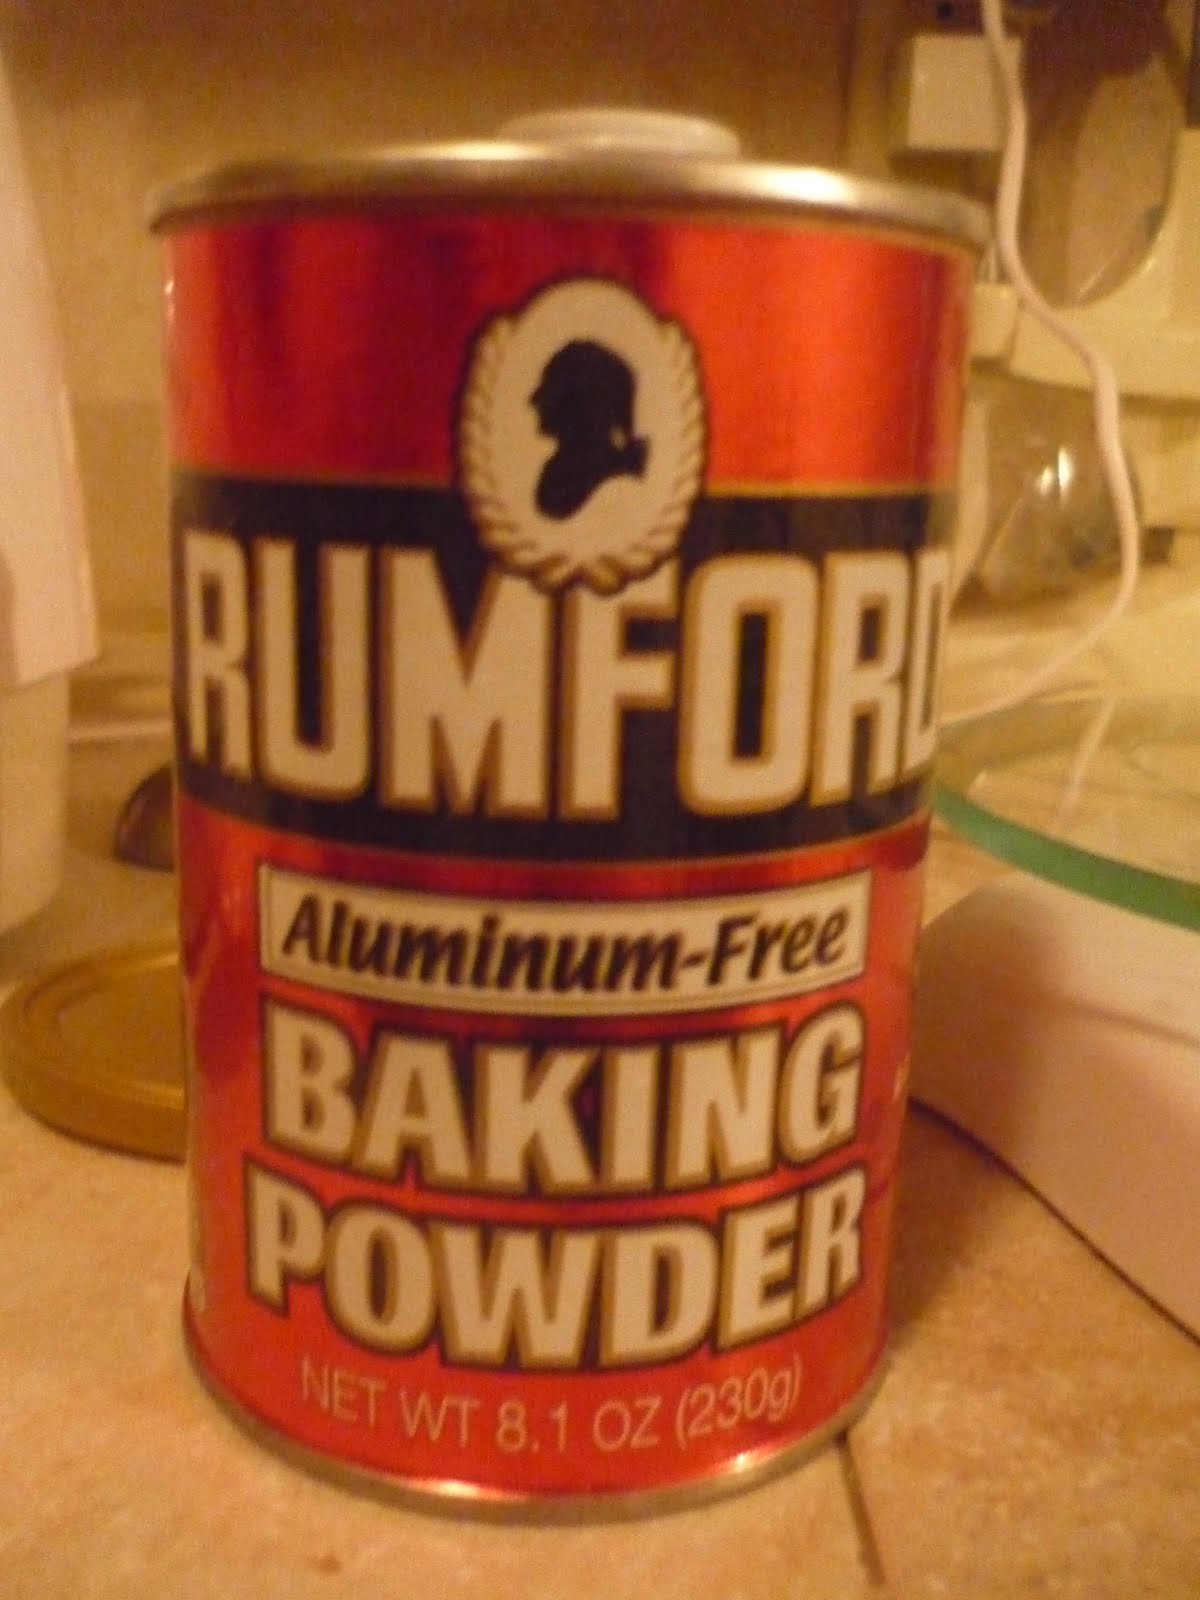
The other sort of strange ingredient was aluminum free baking powder. I was almost out of baking powder anyways, so I went to the store and picked up this brand, which is pretty widely available.


Luckily, I have a kitchen scale, as Alton tends to give dry measurements in ounces rather than cups. I measured out the flours, baking soda, brown sugar (I used light brown), salt, and cinnamon.


I threw it in my food processor along with the butter. I processed it until the butter was evenly distributed.


I added milk, honey (the recipe calls for molases, but I'm not a big fan of the flavor of molasses, and I knew honey would taste delicious), and vanilla and processed for about a minute. At this point, it holds together in a ball. I pressed the dough into a disk and wrapped it in plastic wrap to put in the fridge for 30 minutes.


After chilling, I rolled the dough out between 2 pieces of parchment paper. I rolled it super thin. Probably about 1/8 of an inch. I didn't want the crackers to be chewy, but crispy.


After rolling, I cut it into about 2 inch squares using a pizza cutter, then pricked each cracker with a fork.


This recipe made a little over 2 pans of graham crackers. The recipe says to bake for 25 minutes, but maybe I rolled them too thin, because mine were ready before 15 minutes. I cut through them again right after they came out of the oven, because I was afraid that they woulnd't break apart. After about 10 minutes, I was able to break them into perfect little squares.


Perfect little yummy squares.

Perfect little yummy bases for s'mores. But more on that later.

Saturday, July 10, 2010

PB & J!

I did a post a while ago about how I made strawberry and blackberry freezer jam. I thought I'd follow it up with my homemade peanut butter recipe.

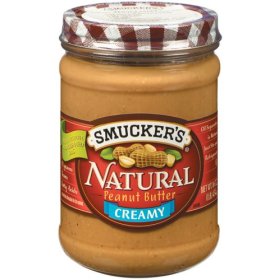
Let me start by saying that this is NOTHING like Jif, Skippy, or Peter Pan peanut butter. Is much more like the natural peanut butters that you can find at places like Whole Foods. Some of the major brands are also starting to make more natural peanut butter. Before I started making my own, this had been our standard peanut butter for about a year:

If you're not up to making your own (but trust me, it's easy), I would recommend this one. The only ingredients are peanuts and salt, and it is quite yummy.

But, if you are willing to roll up your sleeves for about 3 minutes, you can make your own for much cheaper. Plus, I like to add just a little sweetener to mine. Sometimes its honey, but this time, we had just a little leftover (real, of course) maple syrup. Delish!

I adapted my recipe from Alton Brown's recipe from www.foodnetwork.com.

I bought plain, raw Spanish peanuts. I tried using the ones in the canister, like Planter's, but they have oil and salt already added, and when I roasted them they burnt really fast. I imagine that you could use already roasted peanuts and just skip to the food processor step. I haven't tried, though . I found the raw Spanish peanuts near the nuts for baking, rather than the snack food aisle.

Dump the peanuts onto a cookie sheet. The first time I did this, I peeled the red skin off the peanuts. It took FOREVER, and made a huge mess. This time, I just left them on, and didn't have a problem. Roast the peanuts in a 350 degree oven for 15 minutes or so.

Let the peanuts cool (I left them for several hours, but I think maybe 3o minutes would suffice). Dump them into a food processor, along with about 1-2 teaspoons salt (this is for about 16 ounces of peanuts). Turn on the food processor and drizzle in some oil. Alton says to use peanut oil, but you only need about 2 tablespoons, and I didn't feel like buying a whole container of oil just for peanut butter, so I used canola oil. I'm sure that any vegetable oil would work. Once it's the consistency you like, stop.

This will never be super creamy peanut butter (like Jif). It will always have just a little peanut texture to it, but we like it that way.

At this point, you can add sweetener. Like I said before, I've used honey and maple syrup, and if John would let me have it in the house (he hates the taste!?!), I would try agave nectar. Run the food processor for a few more seconds to incorporate, and dump it in your container of choice.

The first time I made it, I was worried that Cohen wouldn't eat it, so I just washed out our old Smucker's jar and put some of it in there. Since then, I just put it in whatever container I have clean.

Try it! I'm sure that you'll love it, especially in a PB&J sandwich made with your own freezer jam!

Thursday, July 8, 2010

This one's for my Dad

Apparently my dad reads my blog. He called me the other day and made a request: he wanted me to make Lorna Doone Cookies. Since we're going to meet my parents in Branson this Sunday, I thought I'd give it a try.
A quick Google let me know that they're a type of shortbread cookie. I haven't had them in quite a while, so I decided to just find a shortbread recipe that looked good and see what I came up with. I decided on the simplest type of shortbread, which only has 3 ingredients: flour, sugar, and butter (but you could possibly count butter as 2 ingredients, since it calls for an entire pound of butter!). The only decision that I had to make was whether to use white or brown sugar. I thought that brown sugar would add a nice richness, so I gathered my ingredients:


I creamed 2 cups of butter with 1 cup packed brown sugar, scraping down the sides as necessary.


Next, I added 4 1/2 cups of flour, about 1 cup at a time, and beat until light and fluffy. At this point, I dumped about 1/3 of the mixture on some parchment paper and rolled to about 1/2 inch thickness. I cut the scraps away with a pizza cutter and cut the dough into about 1 by 3 inch rectangles.


I poked each rectangle with a fork,

and put them in the oven for about 20 minutes. At this point, they were almost done, but I could tell that they were going to stick together, so I used the pizza cutter again to re-cut the rectangles and put them back in the oven for 5 more minutes.

For my second batch, I thought I'd try separating the rectangles before baking. This was way more trouble than it was worth. I also differed the fork pattern, just for variety.


I was not quite as accurate with my sizing of the cookies on this batch. The little ones burned a little, and the big ones were slightly underdone.

I'm not sure if they're Lorna Doones ( I'll have to wait until dad tries them to see if they fit the bill), but they are really delicious!

Thursday, July 1, 2010

Cheez-Its Anyone?

We love Cheez-Its.


However, they are far far away from the natural, healthy(ish) snacks that I prefer to feed both myself and my family.

We used to buy an organic version, but they became too expensive for our budget, and they just didn't taste as good. One day, my husband stumbled upon these:


Okay, so they're still not health food by any stretch of the imagination. We figured as long as we were going to eat them, we may as well get 5 grams of whole grain per serving!

Then came my idea to make my own. I found a few different versions. One, that I still want to try, requires the purchase of organic cheddar cheese powder, at about $10.00. The crackers sound yummy, but I'm not willing to pay that price just yet. I found another recipe that just called for shredded sharp cheddar. They seemed really easy, so I gave them a try.

They were... okay. Definitely not even close to a cheez-it. They were more like square cheese puffs. Delicious, but these would not break our addiction to the Cheez-its.

Then I stumbled upon this recipe for Parmesan Cream Crackers. I thought it might be a good compromise, as the reason my previous recipe was a failure was the big chunks of cheese. So, I wrangled up the ingredients:


You can use regular all-purpose flour, but I always buy unbleached.

These probably would have been much better with freshly
grated Parmesan, but this was what I had on hand.


Special note: do not do as I did, which was dump in all of the ingredients
only to realize that I only had salted butter. The salt, plus the salt from the
Parmesan cheese, plus the salt in the butter made these crackers REALLY salty.

Having tasted these crackers, I think that even with
unsalted butter, they really don't need extra salt.
Parmesan cheese is rather salty on its own.

They were really easy. I just threw the flour and salt in the food processor, mixed, then added the butter. I drizzled in the cream (I used a little more than the 1/4 cup that the recipe called for). Then, I took half of the dough and rolled it out on parchment paper to about 1/4 inch thickness. I then took a pizza cutter and cut it into about one inch squares. They baked for about 10 minutes.

As you can see, I had to sneak one before I even took a picture! They are delicious!

Wednesday, June 30, 2010

Blackberries, Blackberries, and More Blackberries!

I love berries! Strawberries, blueberries, raspberries, boysenberries, and blackberries. This seems to be the summer of blackberries for our family. It all started about a month ago with my desire to make jam. It was my first time to can, and I was afraid of traditional canning methods, but I heard that freezer jam was pretty much fool-proof. I thought I'd give it a try.
We went to the Edmond Farmer's Market, and looked for berries to fulfill my jam-making desires. We found strawberries and blackberries. Once we had the berries at home, I commenced with the jam-making. It really is super simple. It's called "freezer jam" because it's stored in the freezer--NOT on the pantry shelf. It tastes more like fresh fruit because you don't cook the fruit!
I used about 4 cups of blackberries (I made a separate batch the same way with the strawberries), a lemon, 1 1/2 cups sugar, and a box of this:
1) Stir sugar and contents of package in a bowl into well blended.
2) Add berries and lemon zest. Stir 3 minutes.
3) Ladle jam into jars. I used ziplock twist lid containers, and they worked perfectly.

Both the blackberry and strawberry jams are delicious! One month later, and this is all of the jam I have left:

Yummy!

Last Thursday, John and I took Cohen to a blackberry farm to pick more blackberries. I don't think I've picked berries since I was 10, when I picked blueberries with my cousins in Canada.

I really want Cohen to grow up being connected to the food he eats. I figured picking berries is a good start.


We ended up with 4 pounds of blackberries. As we left the farm, the farmer gave us a pamphlet with recipes and general blackberry information. Like the fact that blackberries will remain good up to 2 days in your refrigerator.

Wait a minute - 2 DAYS?!?!?! We can't eat 4 pounds of blackberries in TWO DAYS!

So, it was off to the internet to try to find suitable ways to use up my blackberries. I ended up with four uses.

1) Eat them straight out of the carton (washed thoroughly, of course - do you know my husband?)

2) Freeze them


3) Blackberry Popsicles (recipe)


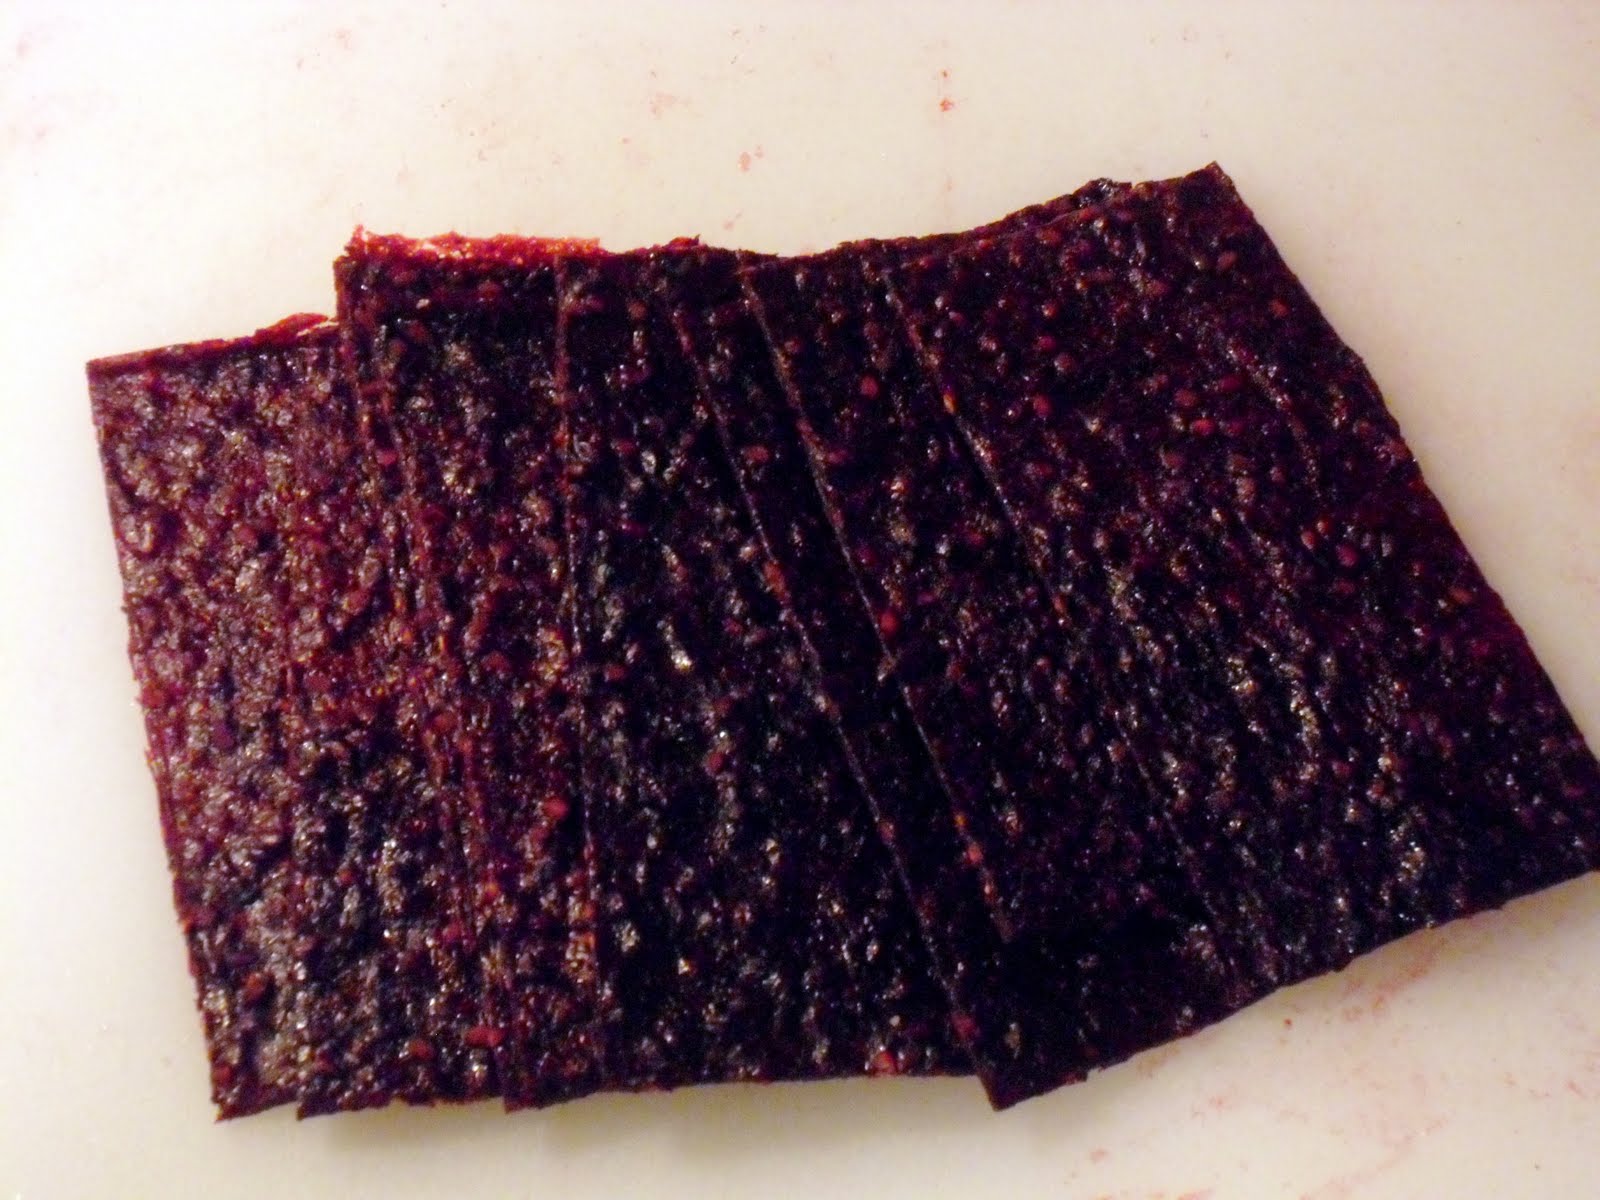
4) Blackberry Fruit Leather (recipe)


I think that I have fulfilled my blackberry needs for the summer. However, I have read about a pick your own peach orchard in the area...