Showing posts with label s'mores. Show all posts

Tuesday, July 20, 2010

S'mores Part III: The Payoff

Graham Crackers - check!

Marshmallows - check!

Chocolate - check!

Before you ask: yes, I did consider making my own chocolate.

I even experimented with the idea. With disastrous results. We're talking inedible chocolate. It takes alot to make chocolate bad, but I succeeded.

So, I was forced to settle for this delicious, intense, dark chocolate.

You really didn't expect Hershey's, did you?

Once you have your ingredients gathered, proceed as follows:

Place 2 pieces of marshmallow on each graham cracker (ignore the chocolate under the marshmallow - they are much better if you just broil the marshmallow and allow that heat to sort of soften the chocolate.)

Place under broiler for about 1 minute. Don't close the oven door completely, and watch them very carfully. These go from gooey to burnt in just seconds.

Place a little (or a lot!) bit of chocolate on top of the marshmallow and top with a second graham cracker.


Enjoy!

Monday, July 19, 2010

S'mores Part II: The Marshmallows

You can't have a s'more without marshmallows. And since I've got a craving for s'mores, it's time for homemade marshmallows!

I started my recipe search by looking at my three favorite food websites: The Pioneer Woman Cooks (including her Tasty Kitchen site), Allrecipes.com, and foodnetwork.com. I found recipes on all three, but decided on Alton Brown's recipe from the Food Network Site, partially because I am in awe of Alton Brown, but mostly because the recipe had amazing reviews.

Ingredients:
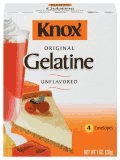
  • 3 packages unflavored gelatin (NOT JELLO!). The only brand that I've ever seen is Knox.
  • 1 cup ice cold water
  • 1 1/2 cups granulated sugar
  • 1 cup light corn syrup (the next time I make this, I'm going to look for a substitution for this)
  • 1/4 teaspoon kosher salt
  • 1 teaspoon vanilla extract (I always use the real thing - homemade, of course!)
  • 1/4 cup confectioners' sugar
  • 1/4 cup cornstarch
  • Nonstick spray
Process:

Place the gelatin into the bowl of a stand mixer along with 1/2 cup of the water. Have the whisk attachment standing by.

In a small saucepan combine the remaining 1/2 cup water, granulated sugar, corn syrup and salt. Place over medium high heat, cover and allow to cook for 3 to 4 minutes.

At this point, you are going to want to cook it until the mixture reaches 240 degrees F. You can use a regular candy thermometer, but I used this electronic thermometer that allows you to set a temperature target, and it will beep when it gets to that temperature.

Here you can see that my sugar was 97 degrees, and the target temperature was 240.

...getting closer. This will take approximately 7 to 8 minutes. Once the mixture reaches this temperature, immediately remove from the heat.

Turn the mixer on low speed and, while running, slowly pour the sugar syrup down the side of the bowl into the gelatin mixture. Once you have added all of the syrup, increase the speed to high.

Continue to whip until the mixture becomes very thick and is lukewarm, approximately 12 to 15 minutes. Add the vanilla during the last minute of whipping. While the mixture is whipping prepare the pans.

Combine the confectioners' sugar and cornstarch in a small bowl. Lightly spray a 13 by 9-inch metal baking pan with nonstick cooking spray. Add the sugar and cornstarch mixture and move around to completely coat the bottom and sides of the pan. Return the remaining mixture to the bowl for later use.

When the marshmallow mixture is ready, pour into the prepared pan, using a lightly oiled spatula for spreading evenly into the pan.

Dust the top with enough of the remaining sugar and cornstarch mixture to lightly cover. Reserve the rest for later. Allow the marshmallows to sit uncovered for at least 4 hours and up to overnight. I went for overnight, and they set up perfectly.

Turn the marshmallows out onto a cutting board and cut into 1-inch squares using a pizza wheel dusted with the confectioners' sugar mixture.

Once cut, lightly dust all sides of each marshmallow with the remaining mixture, using additional if necessary. Store in an airtight container for up to 3 weeks (as if they'll last that long!)

Next up: finishing the s'mores!


Tuesday, July 13, 2010

S'mores Part I: The Graham Cracker

This actually started from a desire to feed my son good snack food. The fact that it has become the base for the best s'mores ever is a bonus. More on the s'mores later, I promise.

After my (sort of) success making cheese crackers, I thought I'd try a sweeter cracker. He loves graham crackers, but like most processed food, it has HFCS in it, along with all sorts of other undesirable ingredients.

I remembered that I had seen a show on the food network a while ago on how to make graham crackers, so I did a little search and found Alton Brown's recipe for graham crackers. The recipe calls for graham flour. A simple internet search revealed that graham flour is just whole wheat flour. The flour that I found was just labeled as whole wheat, but on the back was printed the story of graham flour.


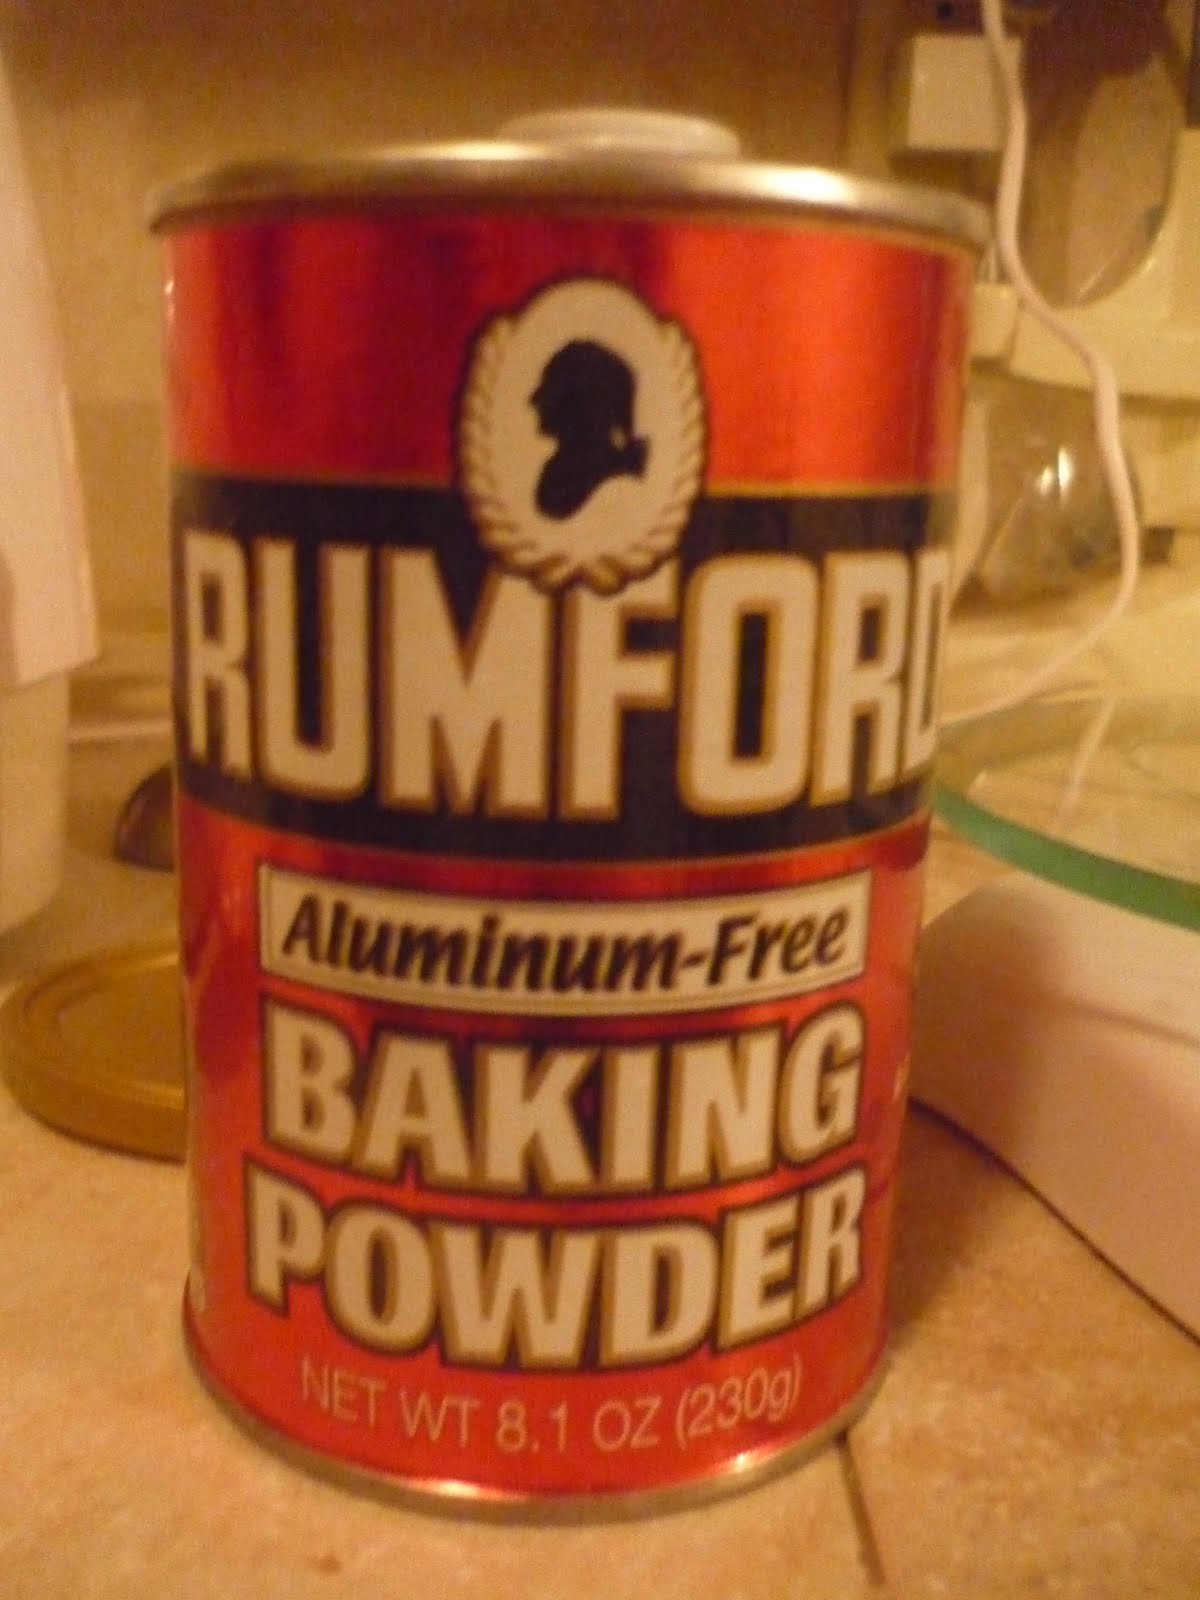
The other sort of strange ingredient was aluminum free baking powder. I was almost out of baking powder anyways, so I went to the store and picked up this brand, which is pretty widely available.


Luckily, I have a kitchen scale, as Alton tends to give dry measurements in ounces rather than cups. I measured out the flours, baking soda, brown sugar (I used light brown), salt, and cinnamon.


I threw it in my food processor along with the butter. I processed it until the butter was evenly distributed.


I added milk, honey (the recipe calls for molases, but I'm not a big fan of the flavor of molasses, and I knew honey would taste delicious), and vanilla and processed for about a minute. At this point, it holds together in a ball. I pressed the dough into a disk and wrapped it in plastic wrap to put in the fridge for 30 minutes.


After chilling, I rolled the dough out between 2 pieces of parchment paper. I rolled it super thin. Probably about 1/8 of an inch. I didn't want the crackers to be chewy, but crispy.


After rolling, I cut it into about 2 inch squares using a pizza cutter, then pricked each cracker with a fork.


This recipe made a little over 2 pans of graham crackers. The recipe says to bake for 25 minutes, but maybe I rolled them too thin, because mine were ready before 15 minutes. I cut through them again right after they came out of the oven, because I was afraid that they woulnd't break apart. After about 10 minutes, I was able to break them into perfect little squares.


Perfect little yummy squares.

Perfect little yummy bases for s'mores. But more on that later.